
Prerequisites
Before starting, ensure your server meets these requirements:Optional Dependencies
Step 1: Install the Plugin
- Download the latest
ArcPass-x.x.x.jarfrom the download page - Place the JAR file in your server’s
pluginsfolder - Restart the server
Step 2: Activate License
Editplugins/ArcPass/license.yml:
/arcpass admin reload or restart the server.
Step 3: Basic Configuration
3.1 Language Setting
Editconfig.yml to set the default language:
3.2 Database Configuration
Default uses SQLite, no additional setup needed. For MySQL:Step 4: Start a Season
ArcPass requires an active season to function properly.Option 1: Using Commands
Option 2: Using Admin GUI
- Run
/arcpass adminto open admin panel - Click “Start Season” button
- Enter season name in chat
- Confirm to start
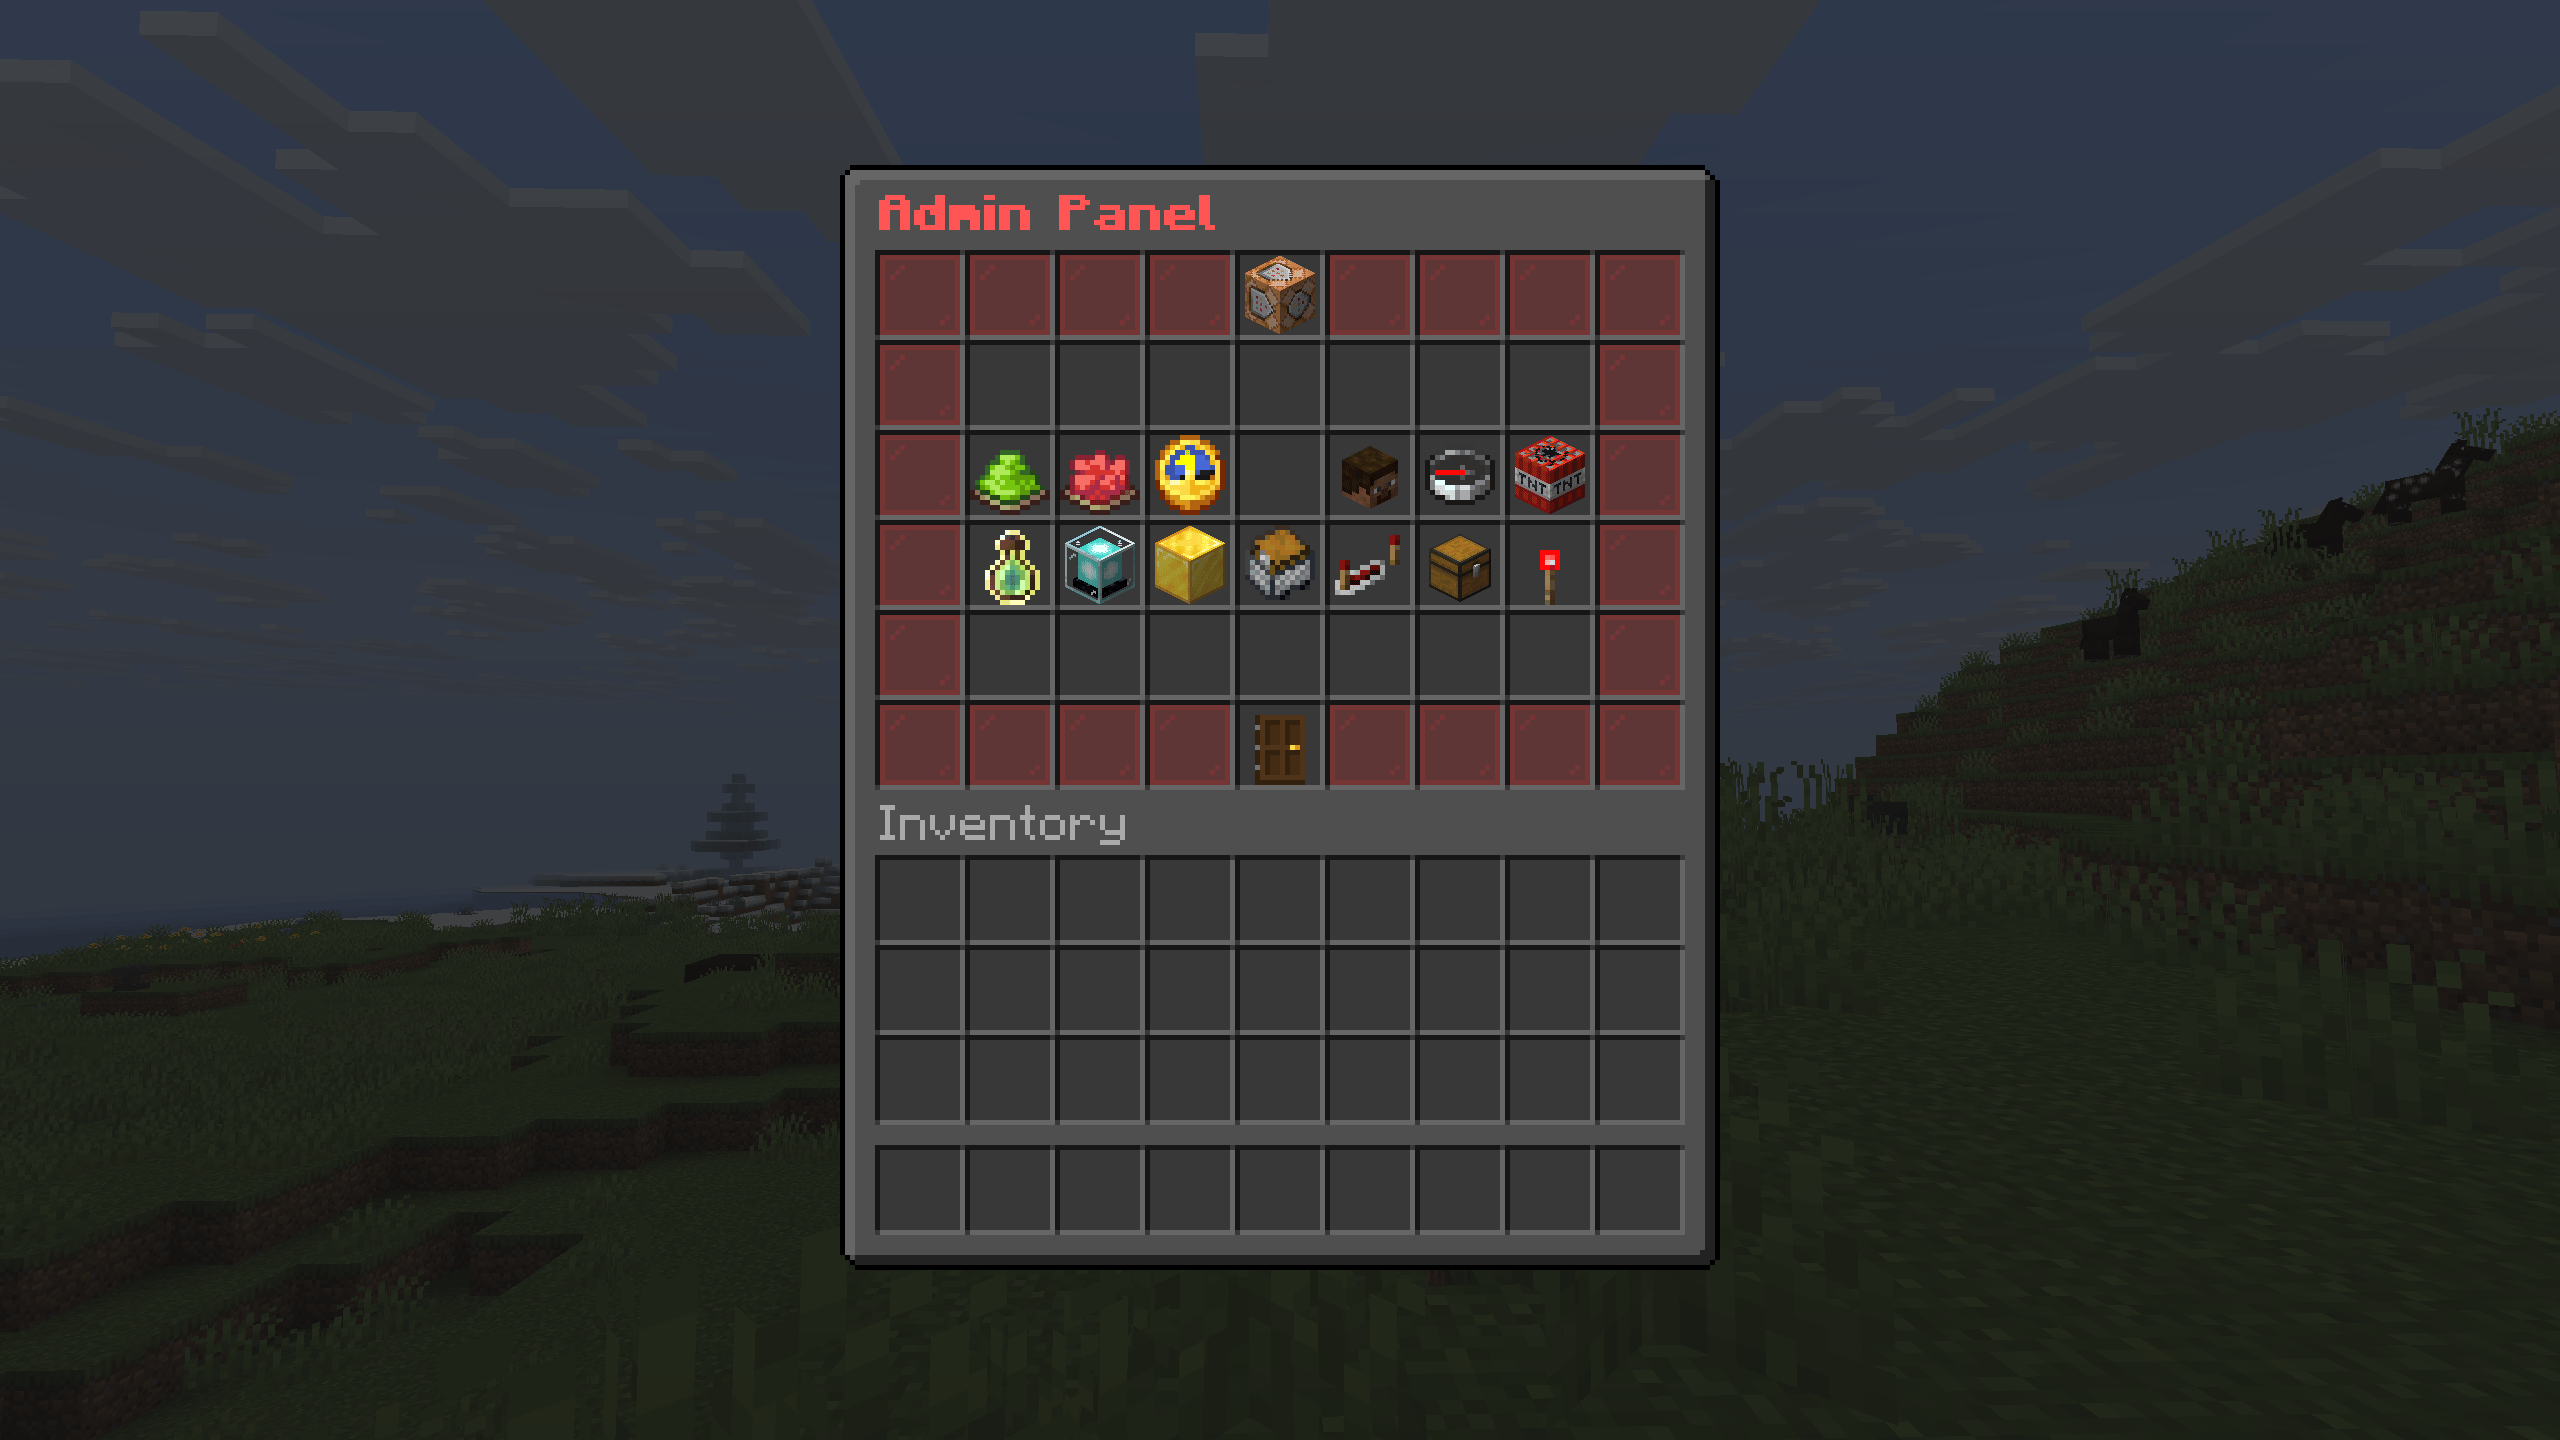
Admin Panel Interface
Step 5: Test Features
Now you can test ArcPass basic features: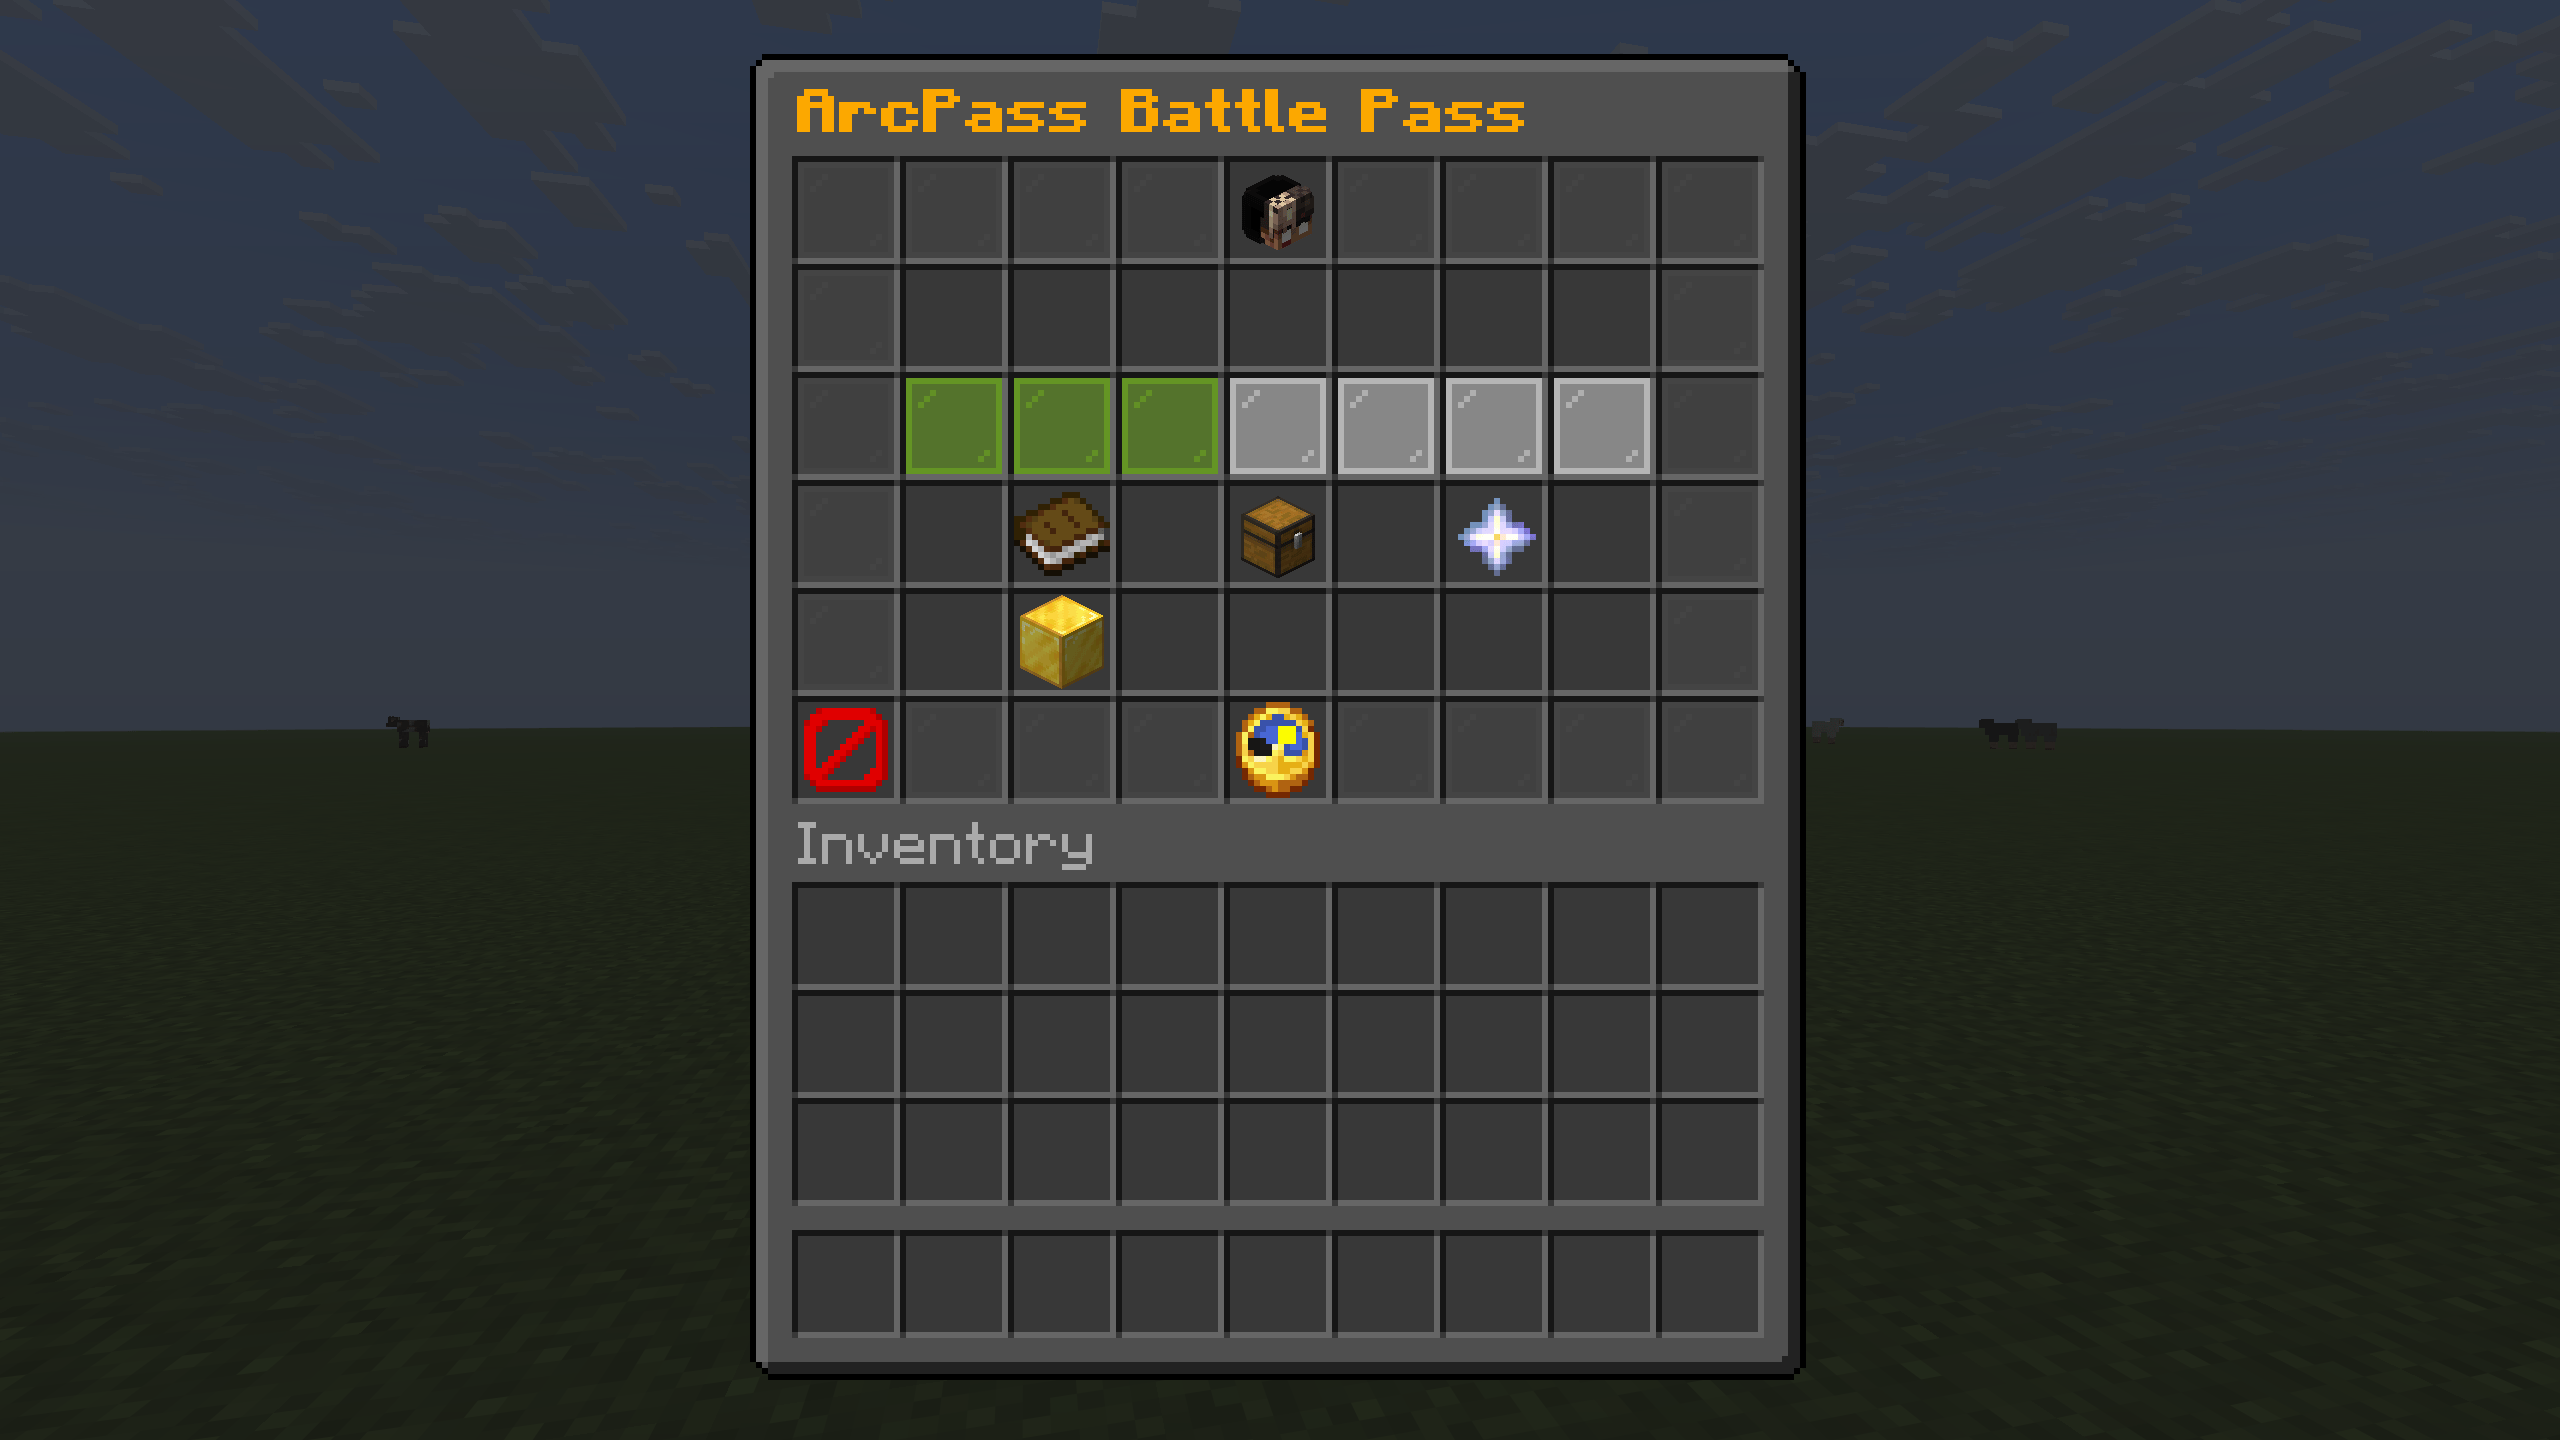
ArcPass Main Menu (/arcpass)
Next Steps
Congratulations! You’ve completed the basic ArcPass setup. Next you can:Configure Pass Tiers and Rewards
Customize pass tiers and level rewards
Set Up Quest System
Configure daily, weekly, and seasonal quests
Customize GUI Interface
Beautify your pass interface
Integrate Third-Party Plugins
Connect Vault, LuckPerms, and more
Need Help?
FAQ
Check FAQ for common issues
Discord Community
Join our community for support