> ## Documentation Index
> Fetch the complete documentation index at: https://www.kitemc.com/llms.txt
> Use this file to discover all available pages before exploring further.
# Getting Started
This guide will help you install and configure ArcPass in under 5 minutes.
Prerequisites
Before starting, ensure your server meets these requirements:
| Requirement | Minimum Version |
| - | - |
| Minecraft Server | Paper 1.18+ / Spigot 1.18+ / Folia 1.20+ |
| Java | 17 or higher |
| License | Valid ArcPass license key |
Optional Dependencies
| Plugin | Purpose |
| - | - |
| Vault | Economy system support |
| PlaceholderAPI | Placeholder variables |
| LuckPerms | Permission rewards |
Step 1: Install the Plugin
1. Download the latest `ArcPass-x.x.x.jar` from the [download page](/en/arcpass/download)
2. Place the JAR file in your server's `plugins` folder
3. Restart the server
On first startup, the plugin generates default configuration files:
```
plugins/ArcPass/
├── config.yml # Main configuration
├── database.yml # Database settings
├── license.yml # License configuration
├── lang/ # Language files
├── passes/ # Pass configurations
├── quests/ # Quest configurations
├── rewards/ # Reward definitions
└── gui/ # GUI configurations
```
Step 2: Activate License
Edit `plugins/ArcPass/license.yml`:
```yaml theme={null}
# License key (obtained from KiteMC after purchase)
license-key: "YOUR-LICENSE-KEY-HERE"
# Show license status messages
show-status: true
```
Save the file and run `/arcpass admin reload` or restart the server.
**How to get a license?**
Visit [KiteMC License Center](https://license.kitemc.com/products/arcpass) to purchase a license. After purchase, you can view your key on the [License Management Page](https://license.kitemc.com/dashboard/licenses).
Step 3: Basic Configuration
3.1 Language Setting
Edit `config.yml` to set the default language:
```yaml theme={null}
locale:
# Default language for new players
default: zh_CN
# Allow players to change their language
allow-change: true
```
3.2 Database Configuration
Default uses SQLite, no additional setup needed. For MySQL:
```yaml theme={null}
# database.yml
type: mysql
mysql:
host: localhost
port: 3306
database: arcpass
username: root
password: your_password
```
Step 4: Start a Season
ArcPass requires an active season to function properly.
Option 1: Using Commands
```
/arcpass admin season start Season1
```
Option 2: Using Admin GUI
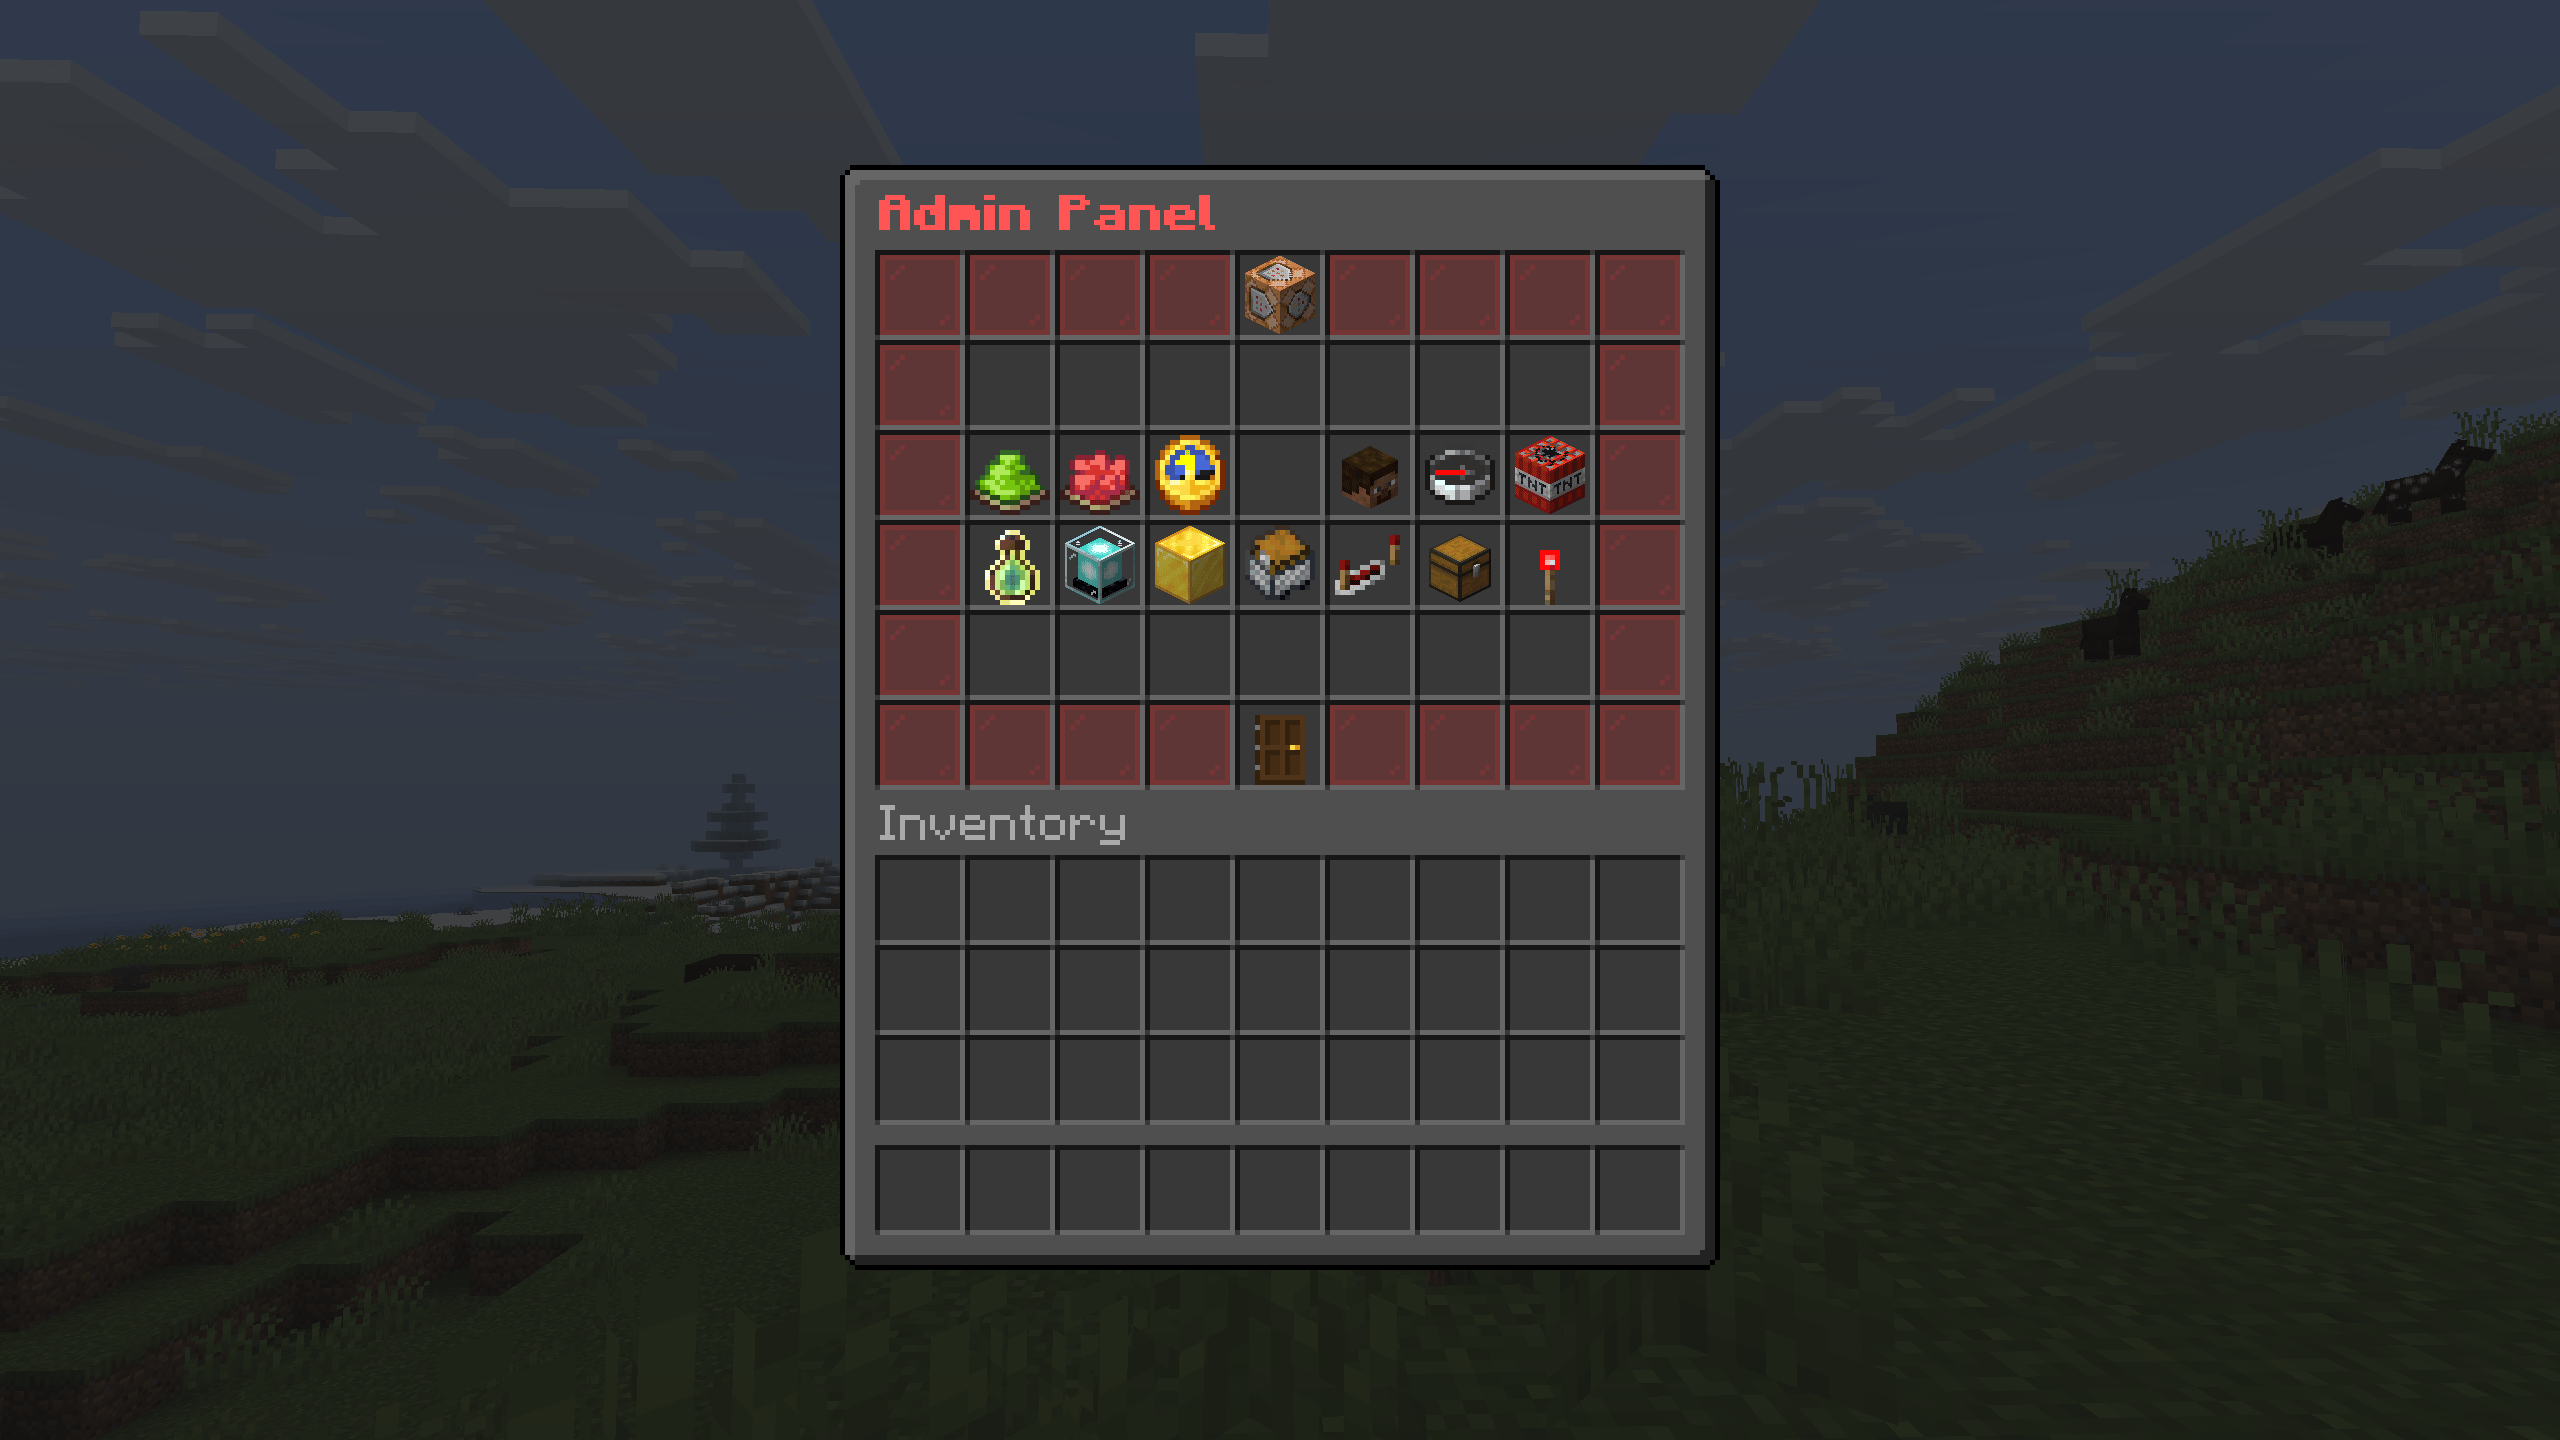
1. Run `/arcpass admin` to open admin panel
2. Click "Start Season" button
3. Enter season name in chat
4. Confirm to start
Step 5: Test Features
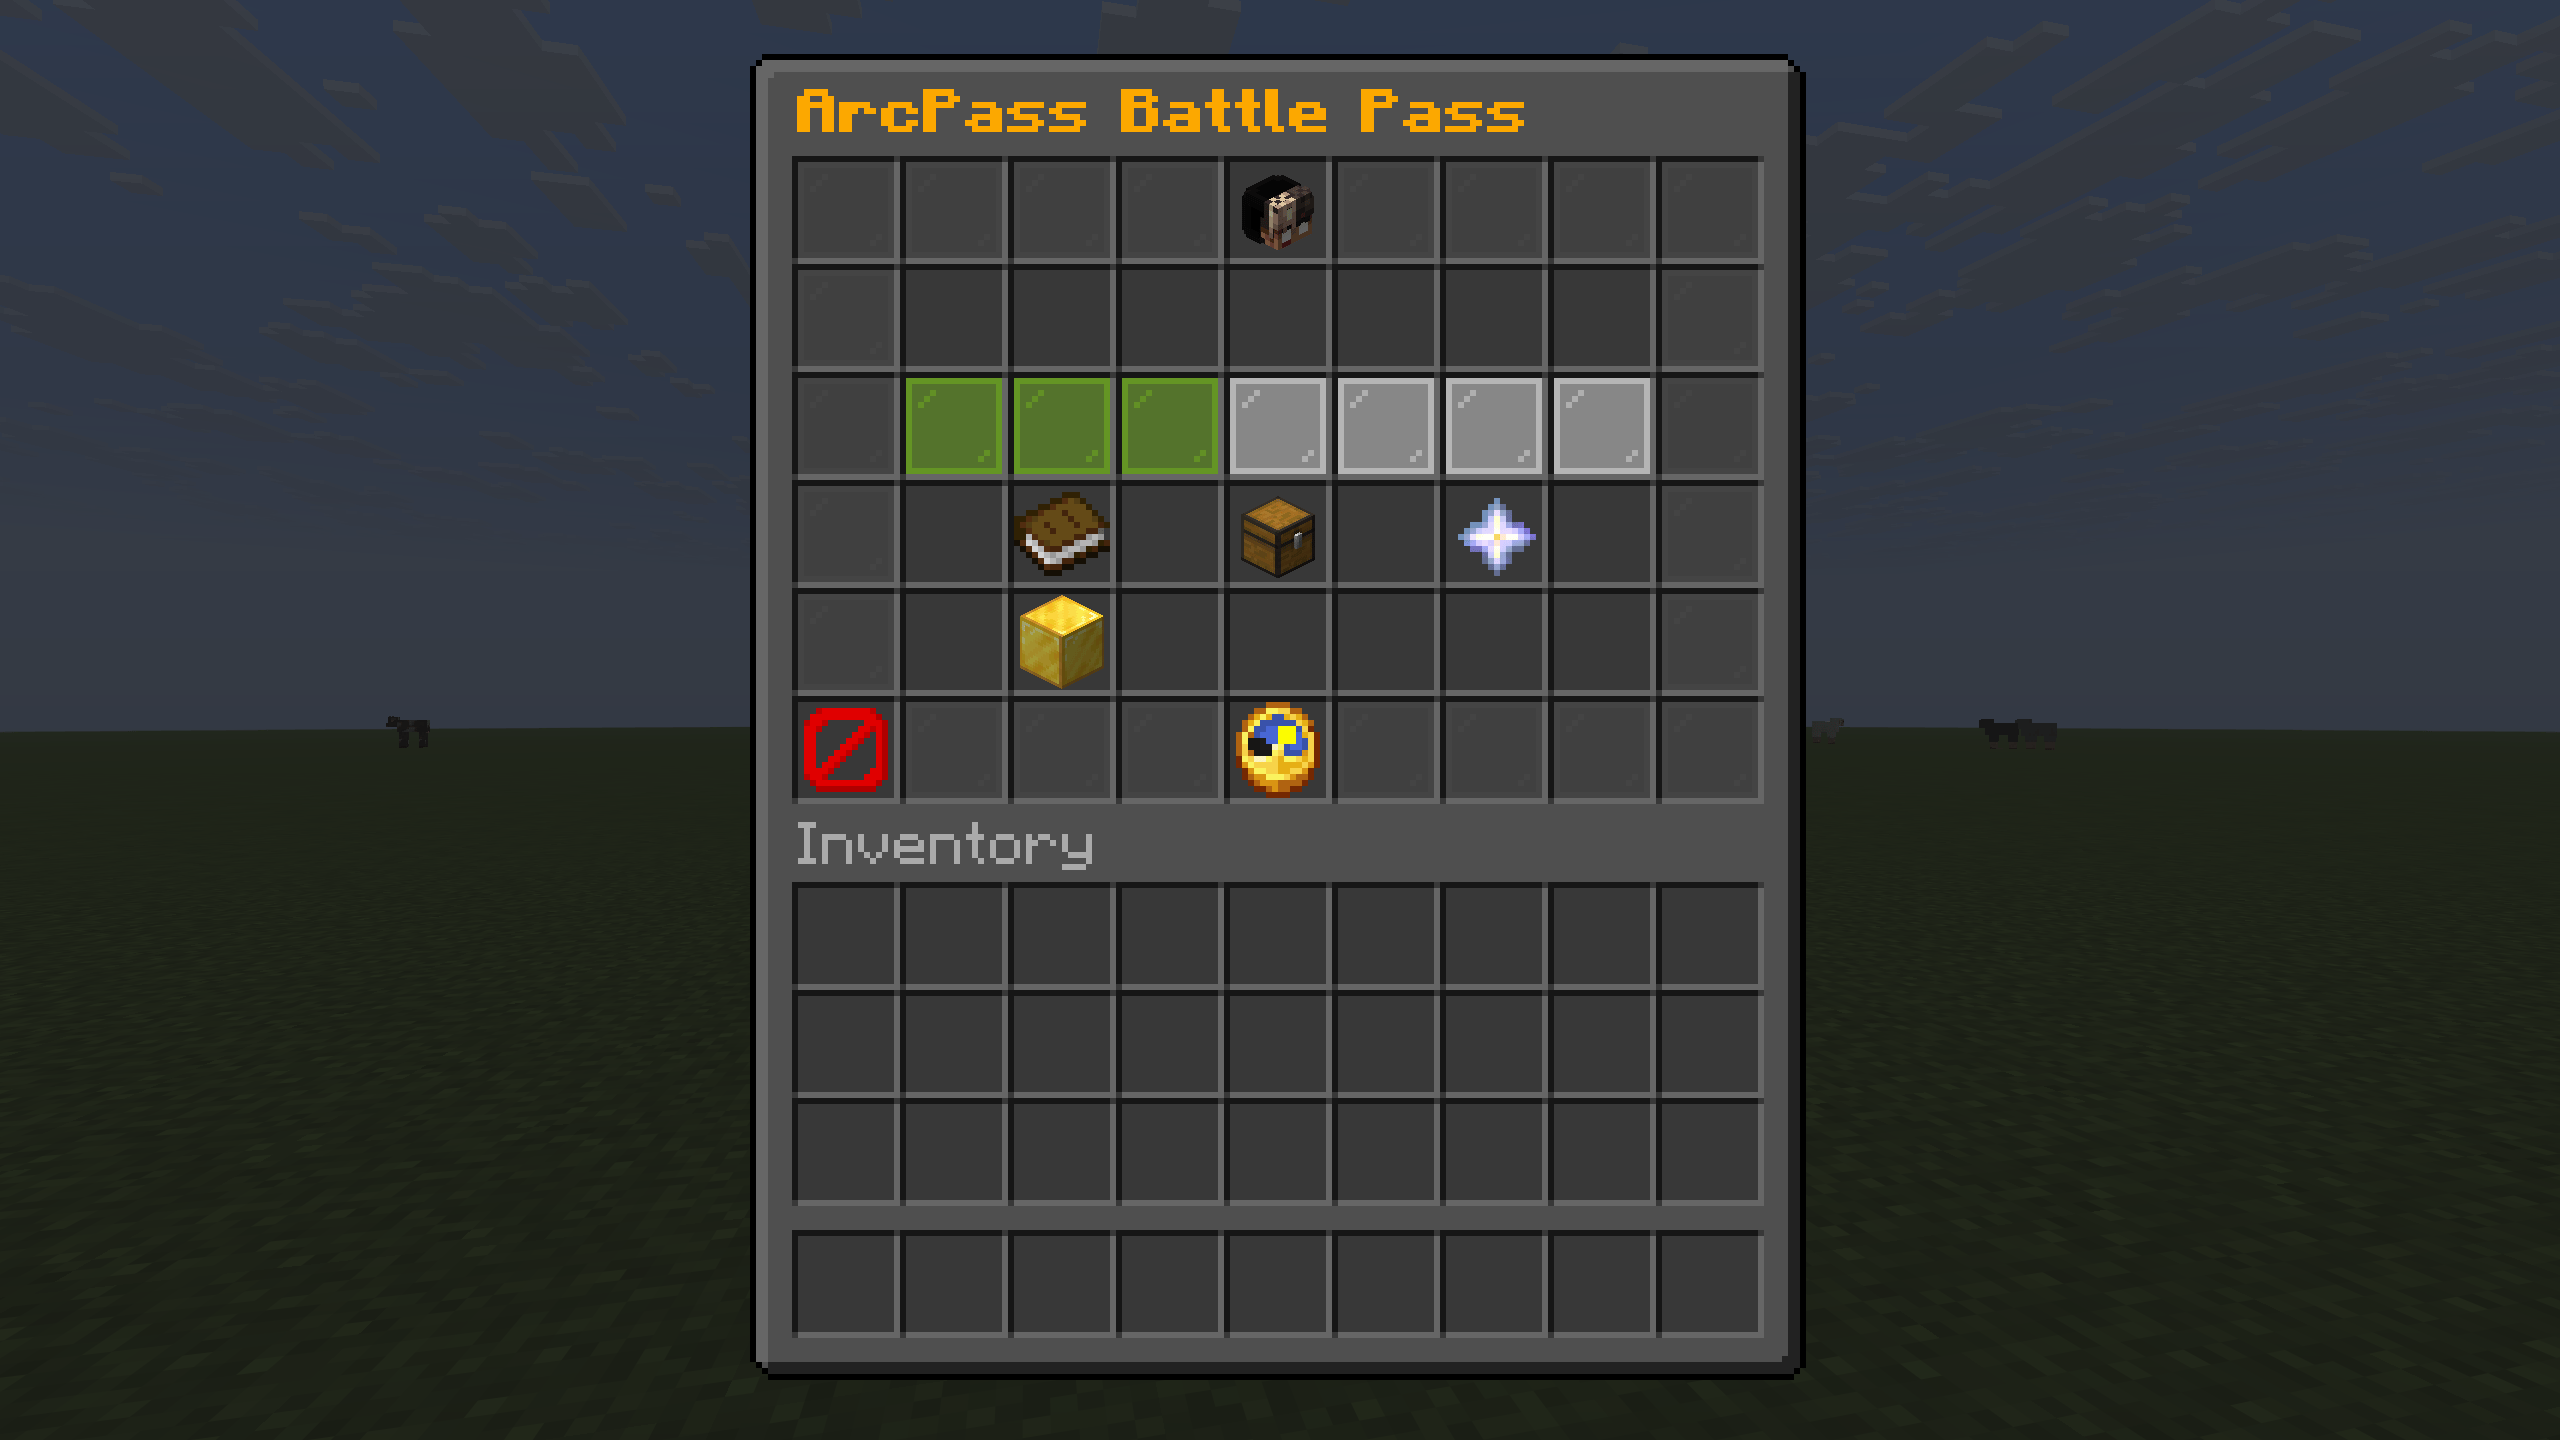
Now you can test ArcPass basic features:
| Command | Description |
| - | - |
| `/arcpass` | Open main pass interface |
| `/arcpass quests` | View current quests |
| `/arcpass level` | View level and experience |
| `/arcpass admin` | Open admin panel (requires permission) |
Next Steps
Congratulations! You've completed the basic ArcPass setup. Next you can:
Customize pass tiers and level rewards
Configure daily, weekly, and seasonal quests
Beautify your pass interface
Connect Vault, LuckPerms, and more
Need Help?
Check FAQ for common issues
Join our community for support
This documentation is built and hosted on [Mintlify](https://mintlify.com), a developer documentation platform.